

This is a free tutorial on how to make paper cut-out cards. This project is suitable for children and grownups alike.
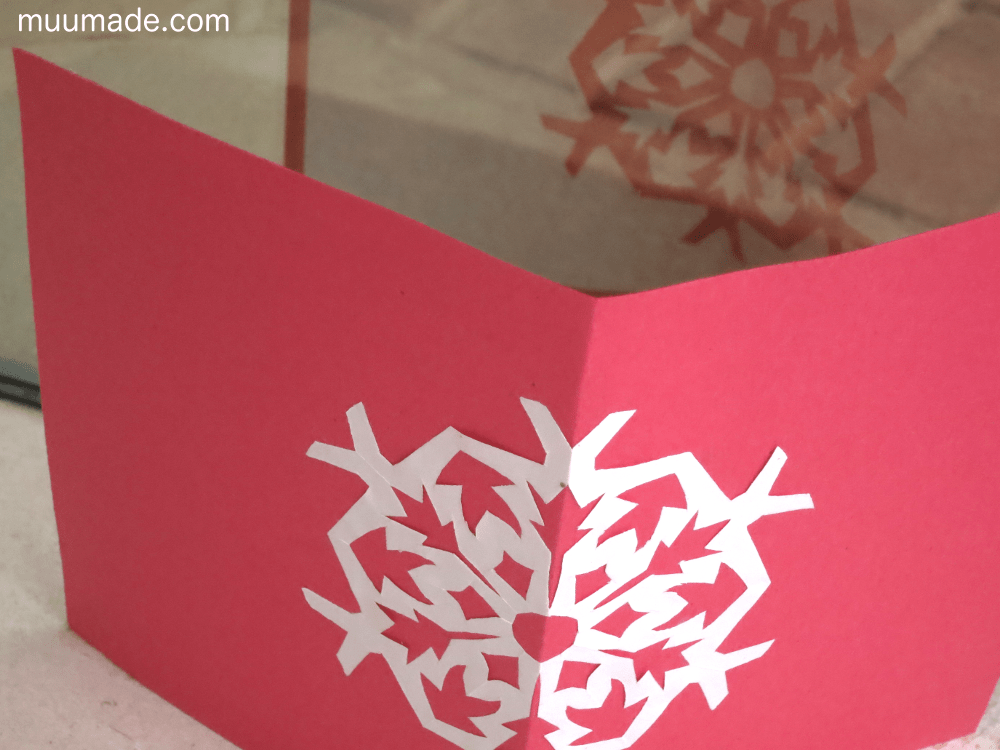
The idea of this paper cut-out card is very simple, but I think that the symmetry makes the cards look rather elegant. And as you can see in the photo above, the same design is on both sides of the card, but with the colors reversed!
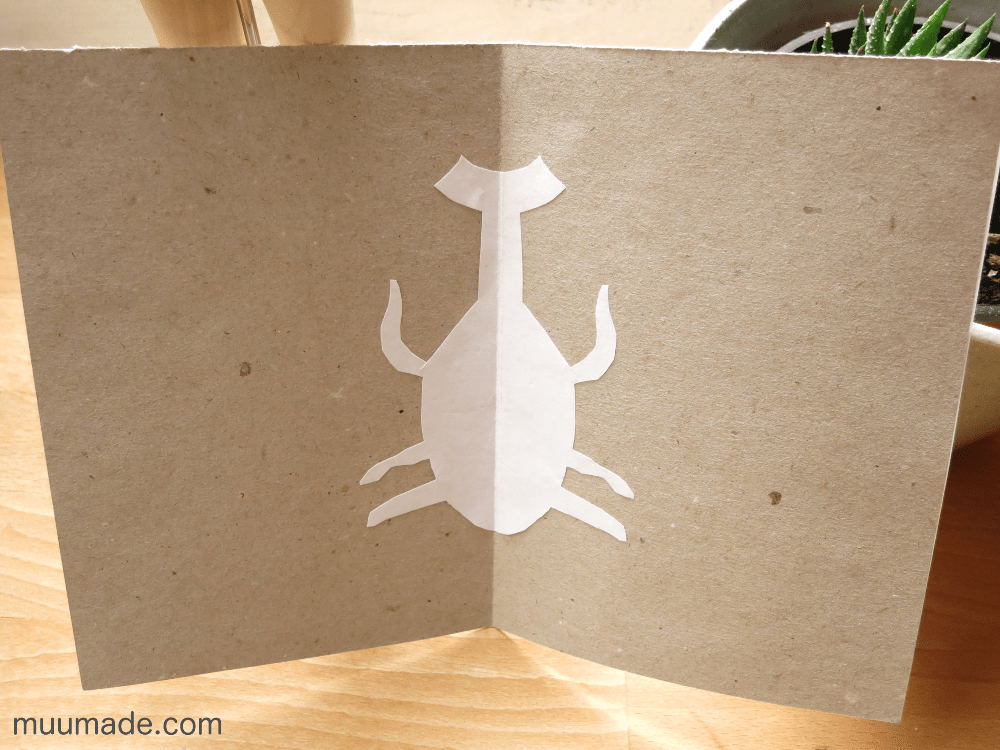
As long as your card design is symmetrical, it will work! A heart for a Valentine’s card; a Christmas tree, a snowflake or a snowman for a Christmas card; a beetle, a butterfly, the face of an animal, or whatever else that special birthday girl or boy would like best on their birthday card…
When you hold one of these cards up to a light, you can also enjoy the overlapping outlines created by the designs on both sides of the card.
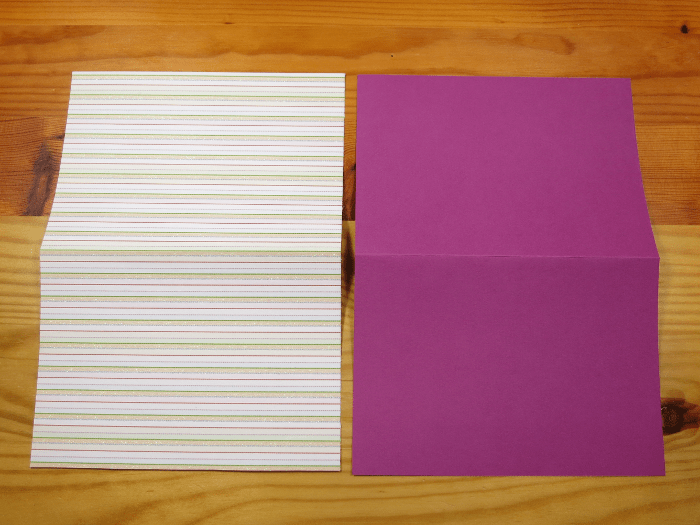 |
1. Cut 2 different sheets of construction paper into your desired card size.
The sheets in the photo are each A5 size (half of an A4 page), and will make a card that is approximately 15 cm (6″) by 10.5 cm (4 1/4″) when finished. Half of a US Letter page will make a card that is approximately 14 cm (5 1/2″) by 10 cm (4″) when finished. |
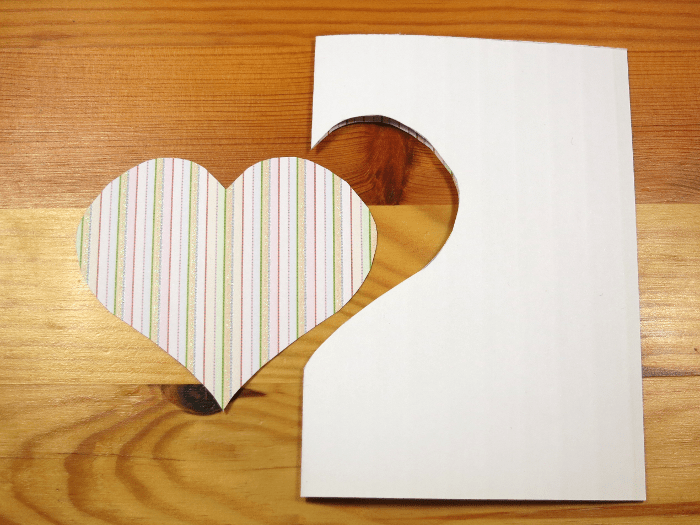 |
2. Fold one of the sheets in half. Cut out half of you symmetrical design from the folded edge of the paper. In the photo, I cut out half of a heart.
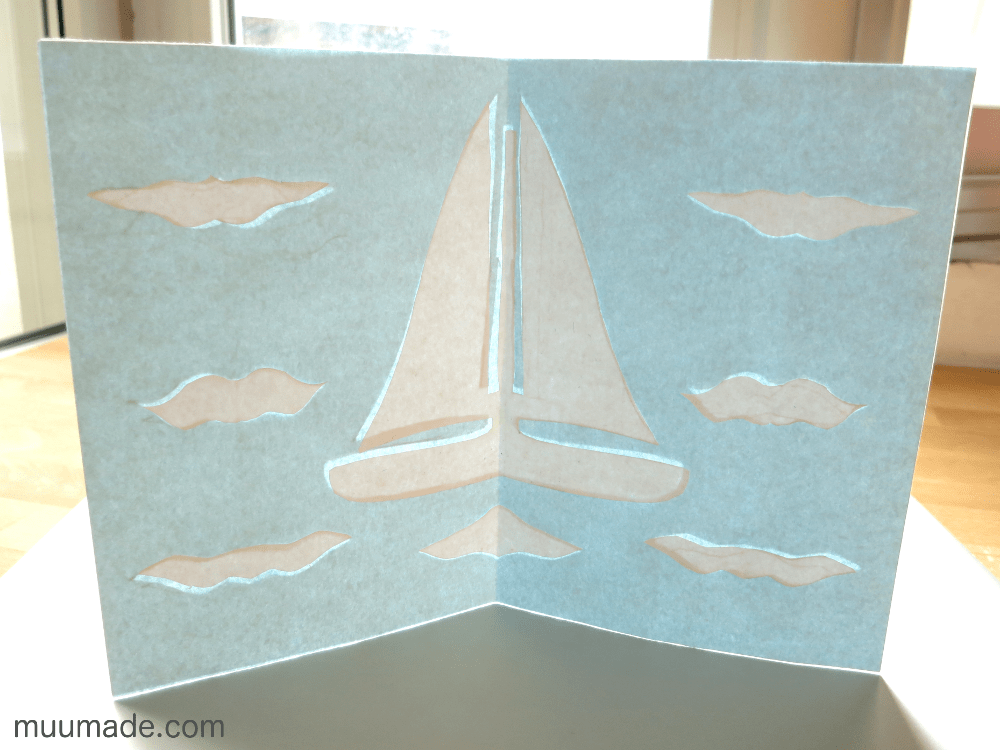
You can also make other cut-outs which are not along the edge, like the waves in the sailboat card shown above. Note: Keep all of your cut-out pieces. You will use them later. |
 |
3. Glue the sheet which you just cut onto the uncut sheet. |
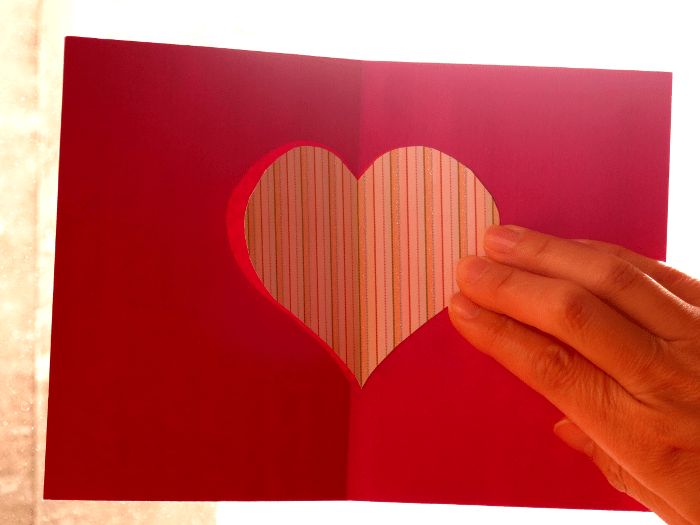 |
4. Hold the card up to a light with the cut side facing away from you. You can now see through the uncut sheet the design on the other side.
Align the cut-out piece(s) from Step 2 with their see-through images and then glue them into place. |
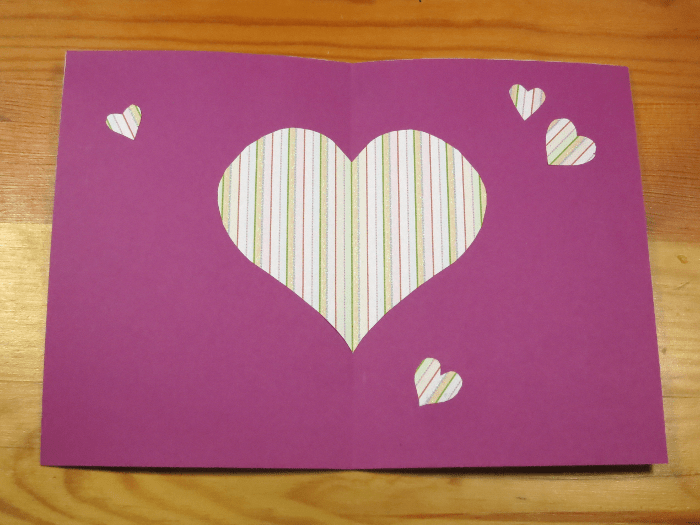 |
5. If you wish, add more decorations to the card.
Now your paper cut-out card is finished! |
If you like making your own cards, you may be interested in my easy pop-up card template post as well. Also, here is a Pinterest board with lots of cardmaking ideas for children.
If you would like to share an image of your paper cut-out cards, please visit Muumade’s Gallery.